Managing Your Workspace and Team
In Intervo.ai, the Workspace is your central hub for creation, management, and collaboration. It acts as the primary container for all your assets, billing information, and team members. Understanding how to manage your workspace is the first step to building an efficient and organized AI-powered operation. This guide covers the essentials of configuring your workspace and inviting your team.What is a Workspace?
Think of a Workspace as a dedicated environment for a specific project, business, or client. Everything you build and configure within Intervo.ai is neatly organized under a workspace. Each workspace contains its own:- AI Agents: All the voice and chat agents you create.
- Knowledge Bases: The unique knowledge sources that power your agents.
- Phone Numbers: Any Twilio numbers you have connected.
- Usage & Credits: All usage data and credits are tracked at the workspace level.
- Billing & Plans: Your subscription plan and billing details are tied to a specific workspace.
- Team Members: The users who have access to the workspace assets.
Configuring Your Workspace Settings
You can customize your workspace to match your brand and operational needs from the General Settings tab.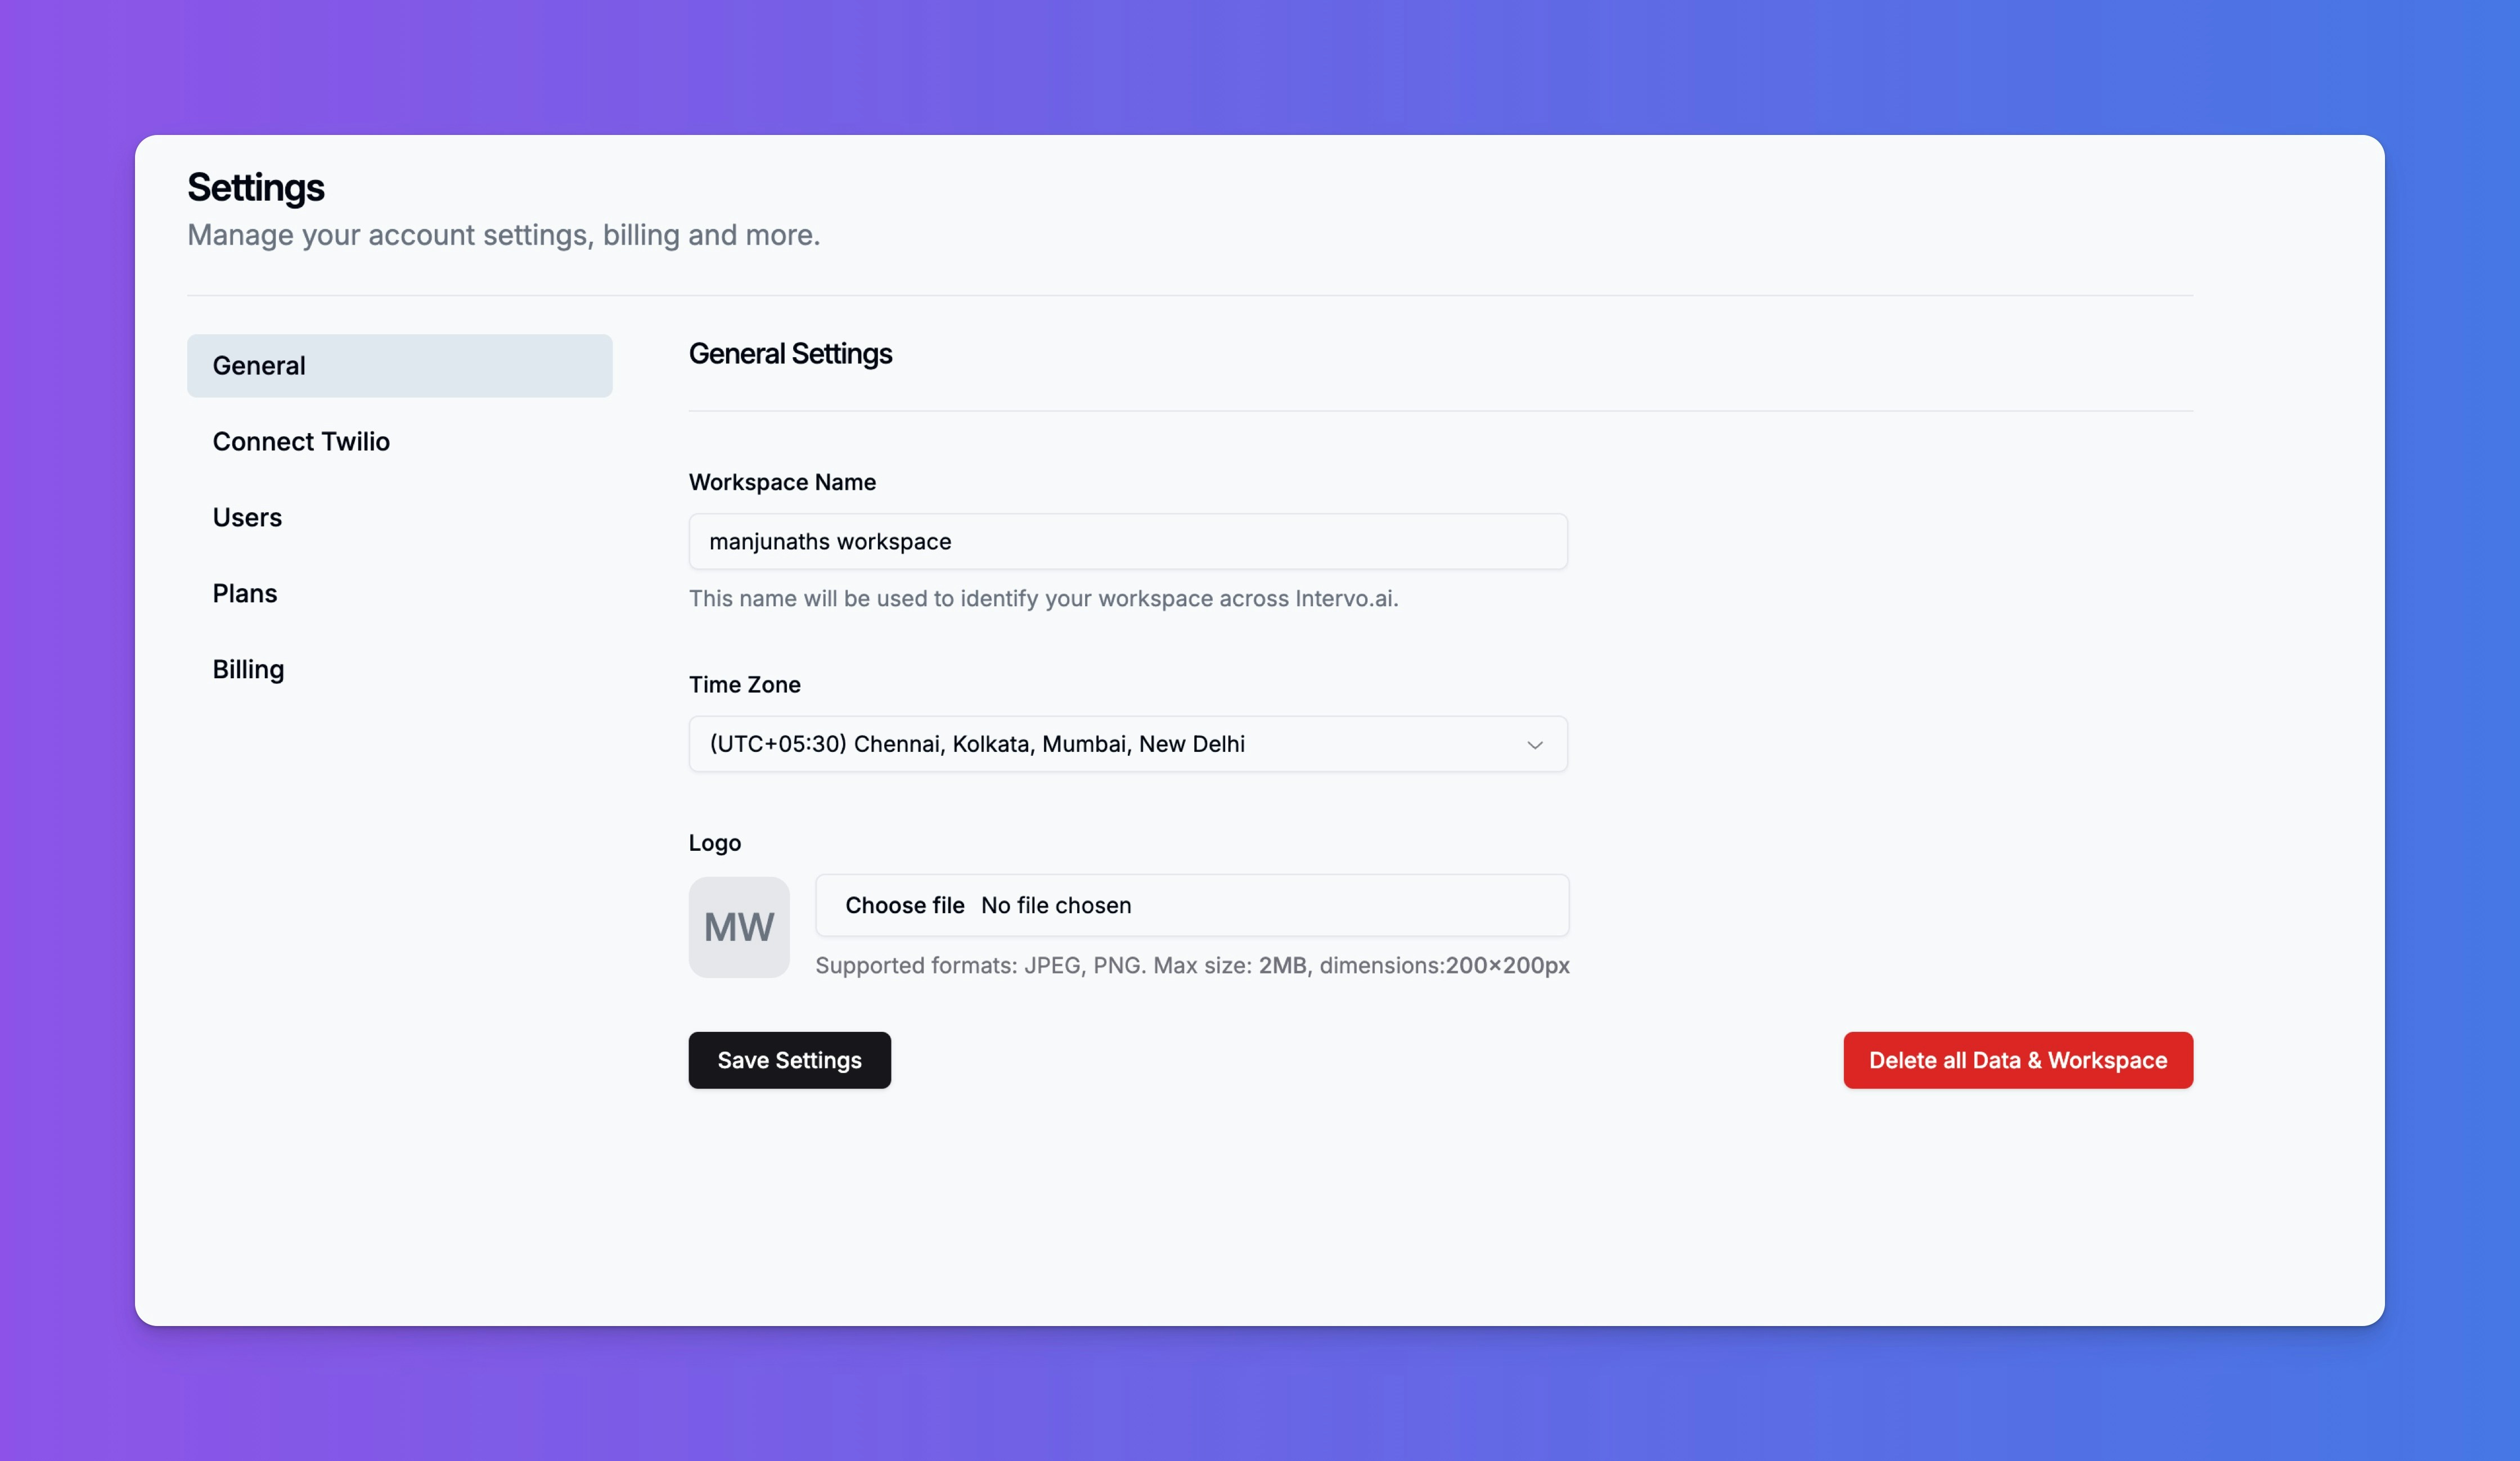
- Workspace Name: Give your workspace a clear and descriptive name (e.g., “Company Marketing Dept” or “Client X Project”). This name is used to identify the workspace across the Intervo.ai platform.
- Time Zone: Select your local time zone. This ensures that all analytics, reports, and timestamps are displayed correctly for your region.
- Logo: Upload your company or project logo. This logo will be used for branding within the platform.
- Supported formats:
JPEG,PNG - Max size: 2MB
- Dimensions: 200x200px
- Supported formats:
Deleting a Workspace
At the bottom of the General Settings page, you will find a button to “Delete all Data & Workspace”.Warning: This is an irreversible action. Deleting a workspace will permanently erase all associated agents, knowledge bases, phone numbers, and data. This action cannot be undone.
Inviting and Managing Your Team
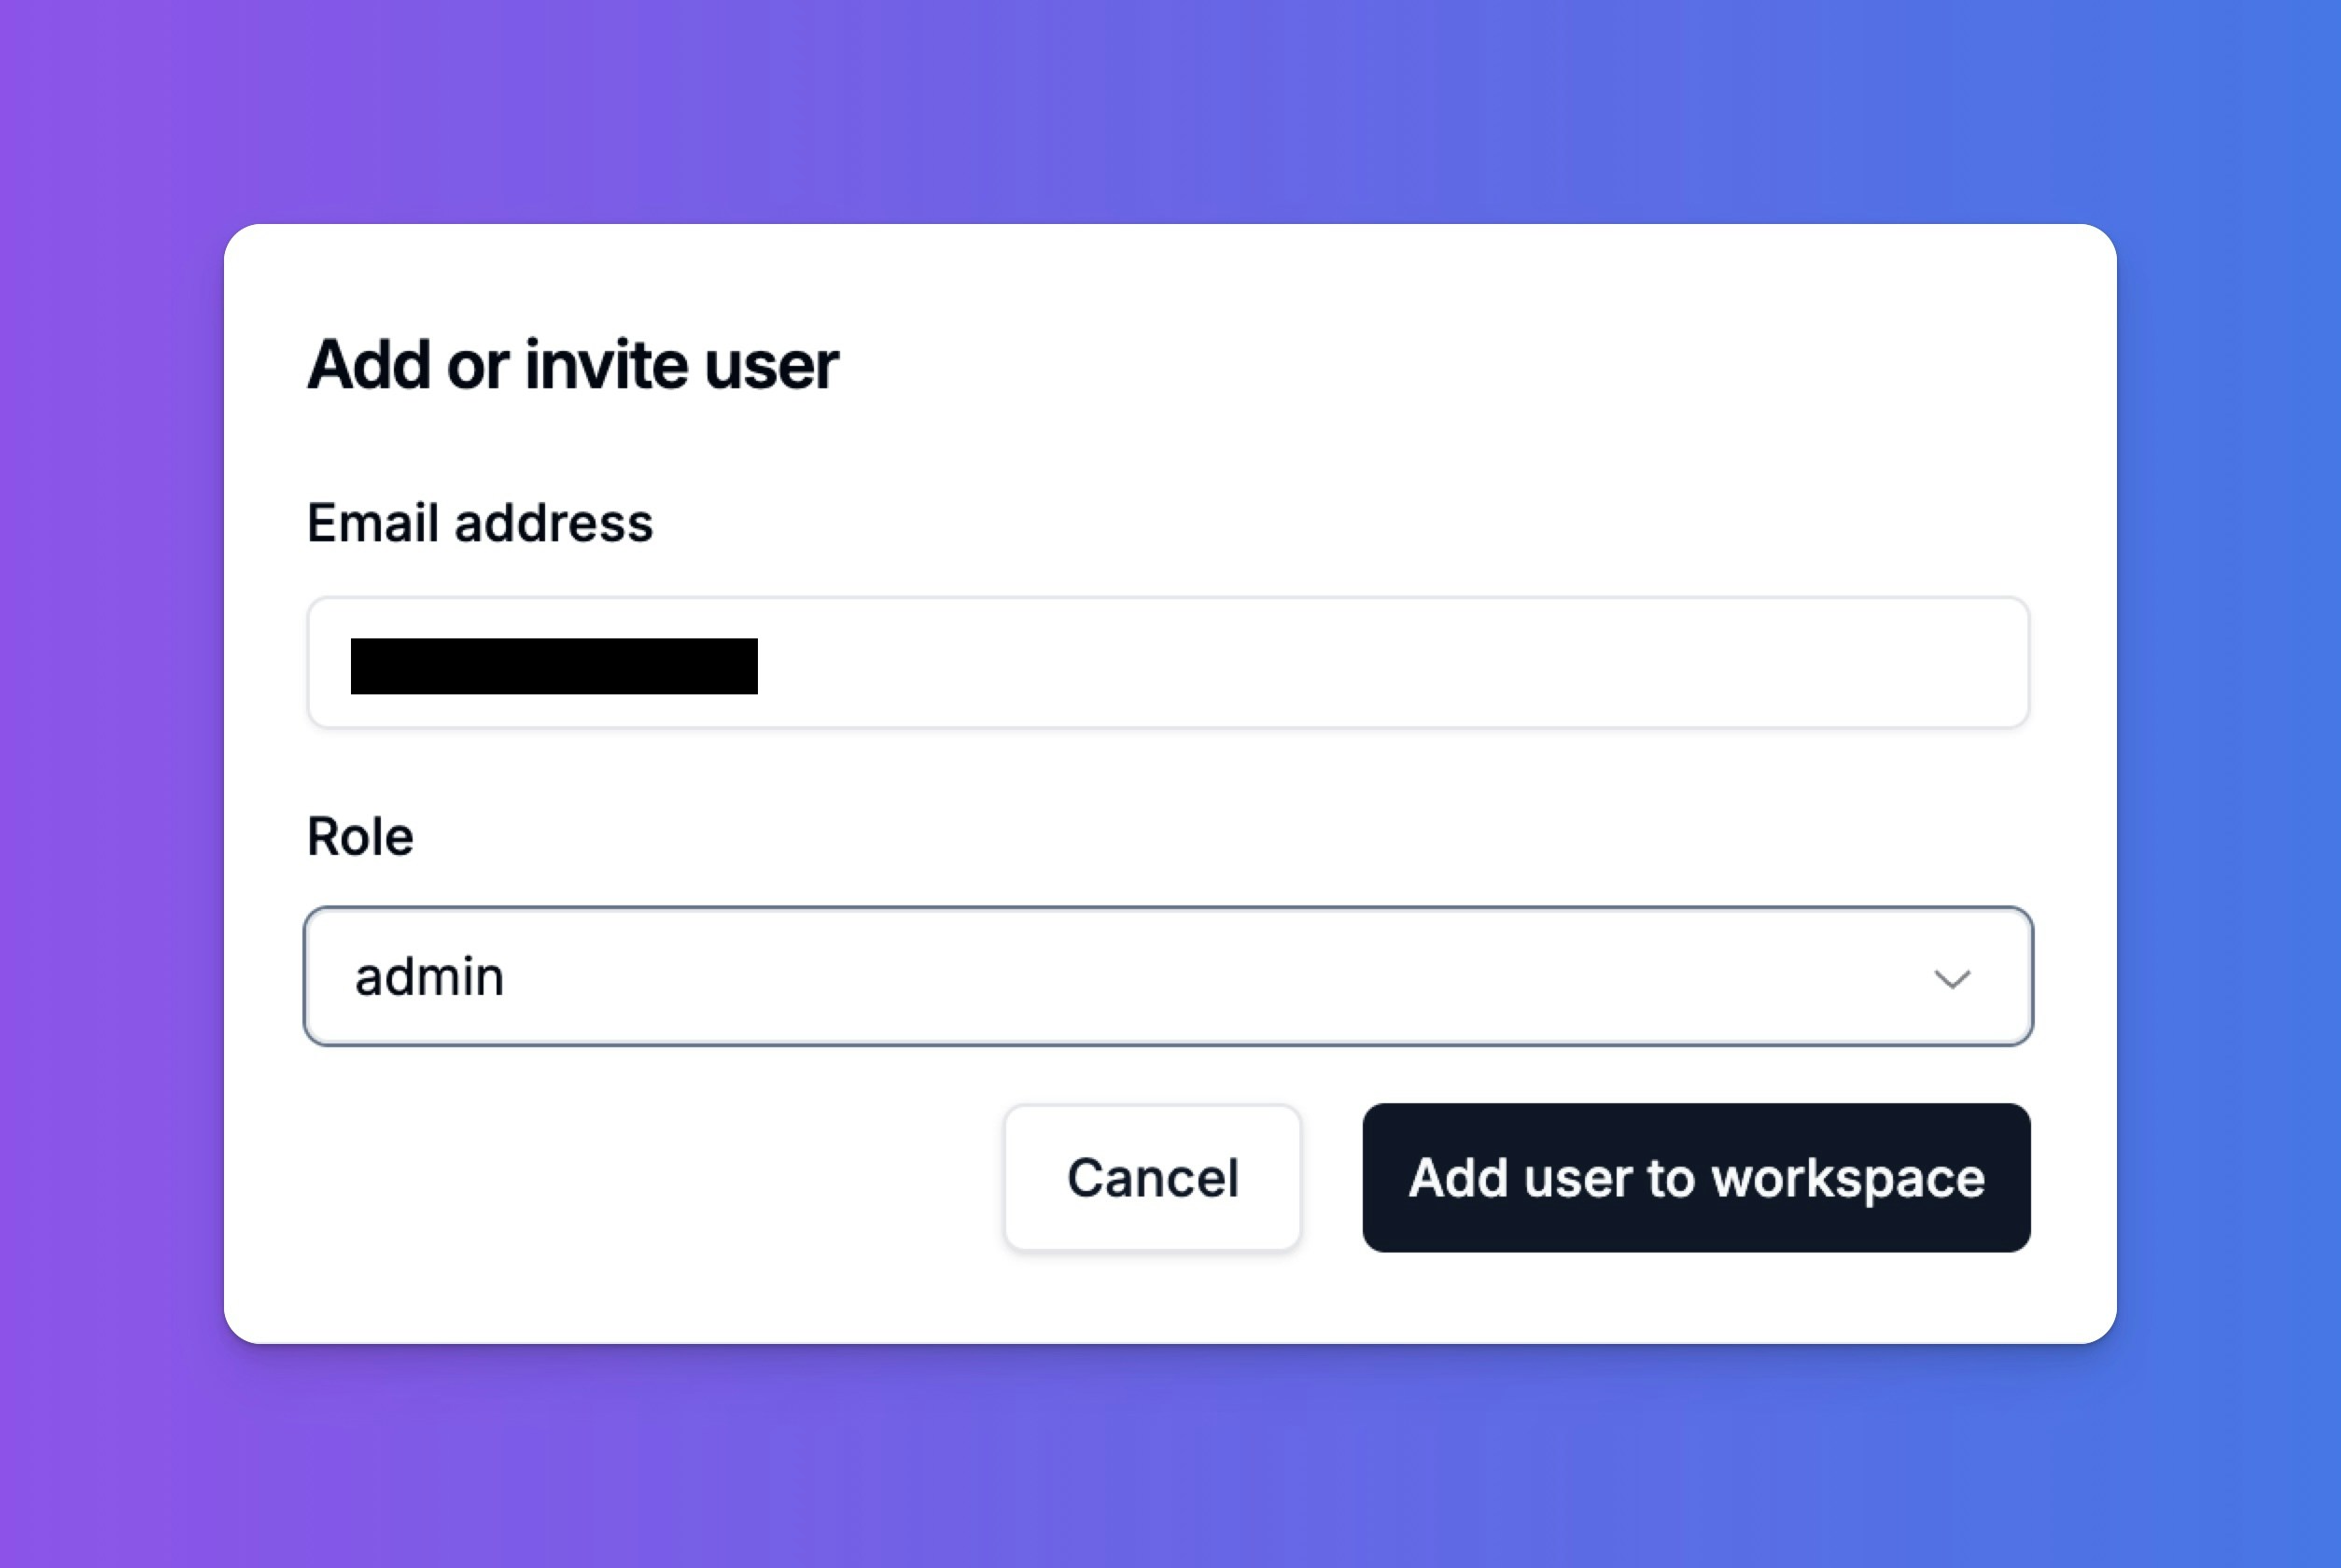
Collaboration is key to building great AI agents. You can invite your colleagues to your workspace and assign them roles based on their responsibilities.How to Invite a User
- Navigate to the Users tab in your workspace Settings.
- Click the “Add or invite user” button.
- In the modal that appears, enter the user’s Email address.
- Select a Role from the dropdown menu. Roles determine the user’s level of access and permissions within the workspace.
- Admin: Has full access to all settings, including billing, user management, and agent configuration.
- (Other roles like “Member” or “Editor” may be available to grant more limited access.)
- Click “Add user to workspace”.