Tutorial: Creating Your First AI Agent
Welcome to Intervo.ai! This guide will walk you through the entire process of creating your first intelligent AI Agent. The process is broken down into three main stages: Agent Setup, defining the Prompt, and building its Knowledge. Let’s get started.Step 1: Choose Your Agent Type
First, navigate to the “Agents” section in your dashboard and click on “Create a new Agent”. You will be presented with a selection of templates to get you started quickly.
- Receptionist: Ideal for agents that greet visitors and direct inquiries.
- Customer Services: Designed for agents that answer questions and help resolve issues.
- Lead Qualification: Tailored for agents that identify and convert potential customers.
- Create agent using AI: If you’re unsure, let our AI analyze your business needs and suggest the best agent type for you.
Step 2: Configure Your Agent’s Basic Details
After selecting a type, you’ll need to configure the agent’s core settings.
- Agent Name: Give your agent a memorable name. This is for your internal reference. Let’s call ours “Tanny”.
- Language: Select the primary language your agent will communicate in. We’ll choose “English”.
- Choose Setup: Select how you want to deploy this agent.
- Website widget: This will create a widget you can embed on your site for live call and chat functionality.
- Phone Agent (Calls via Twilio): This will connect your agent to a phone number to handle calls.
Pro Tip: You can start with a Website Widget and connect it to Twilio later. Settings are always changeable.Once you have filled in the details, click “Create Agent Now”.
Step 3: Craft the Agent’s Core Prompt
Next, you will define the agent’s personality and primary objective. The prompt is the core set of instructions the AI follows in every conversation.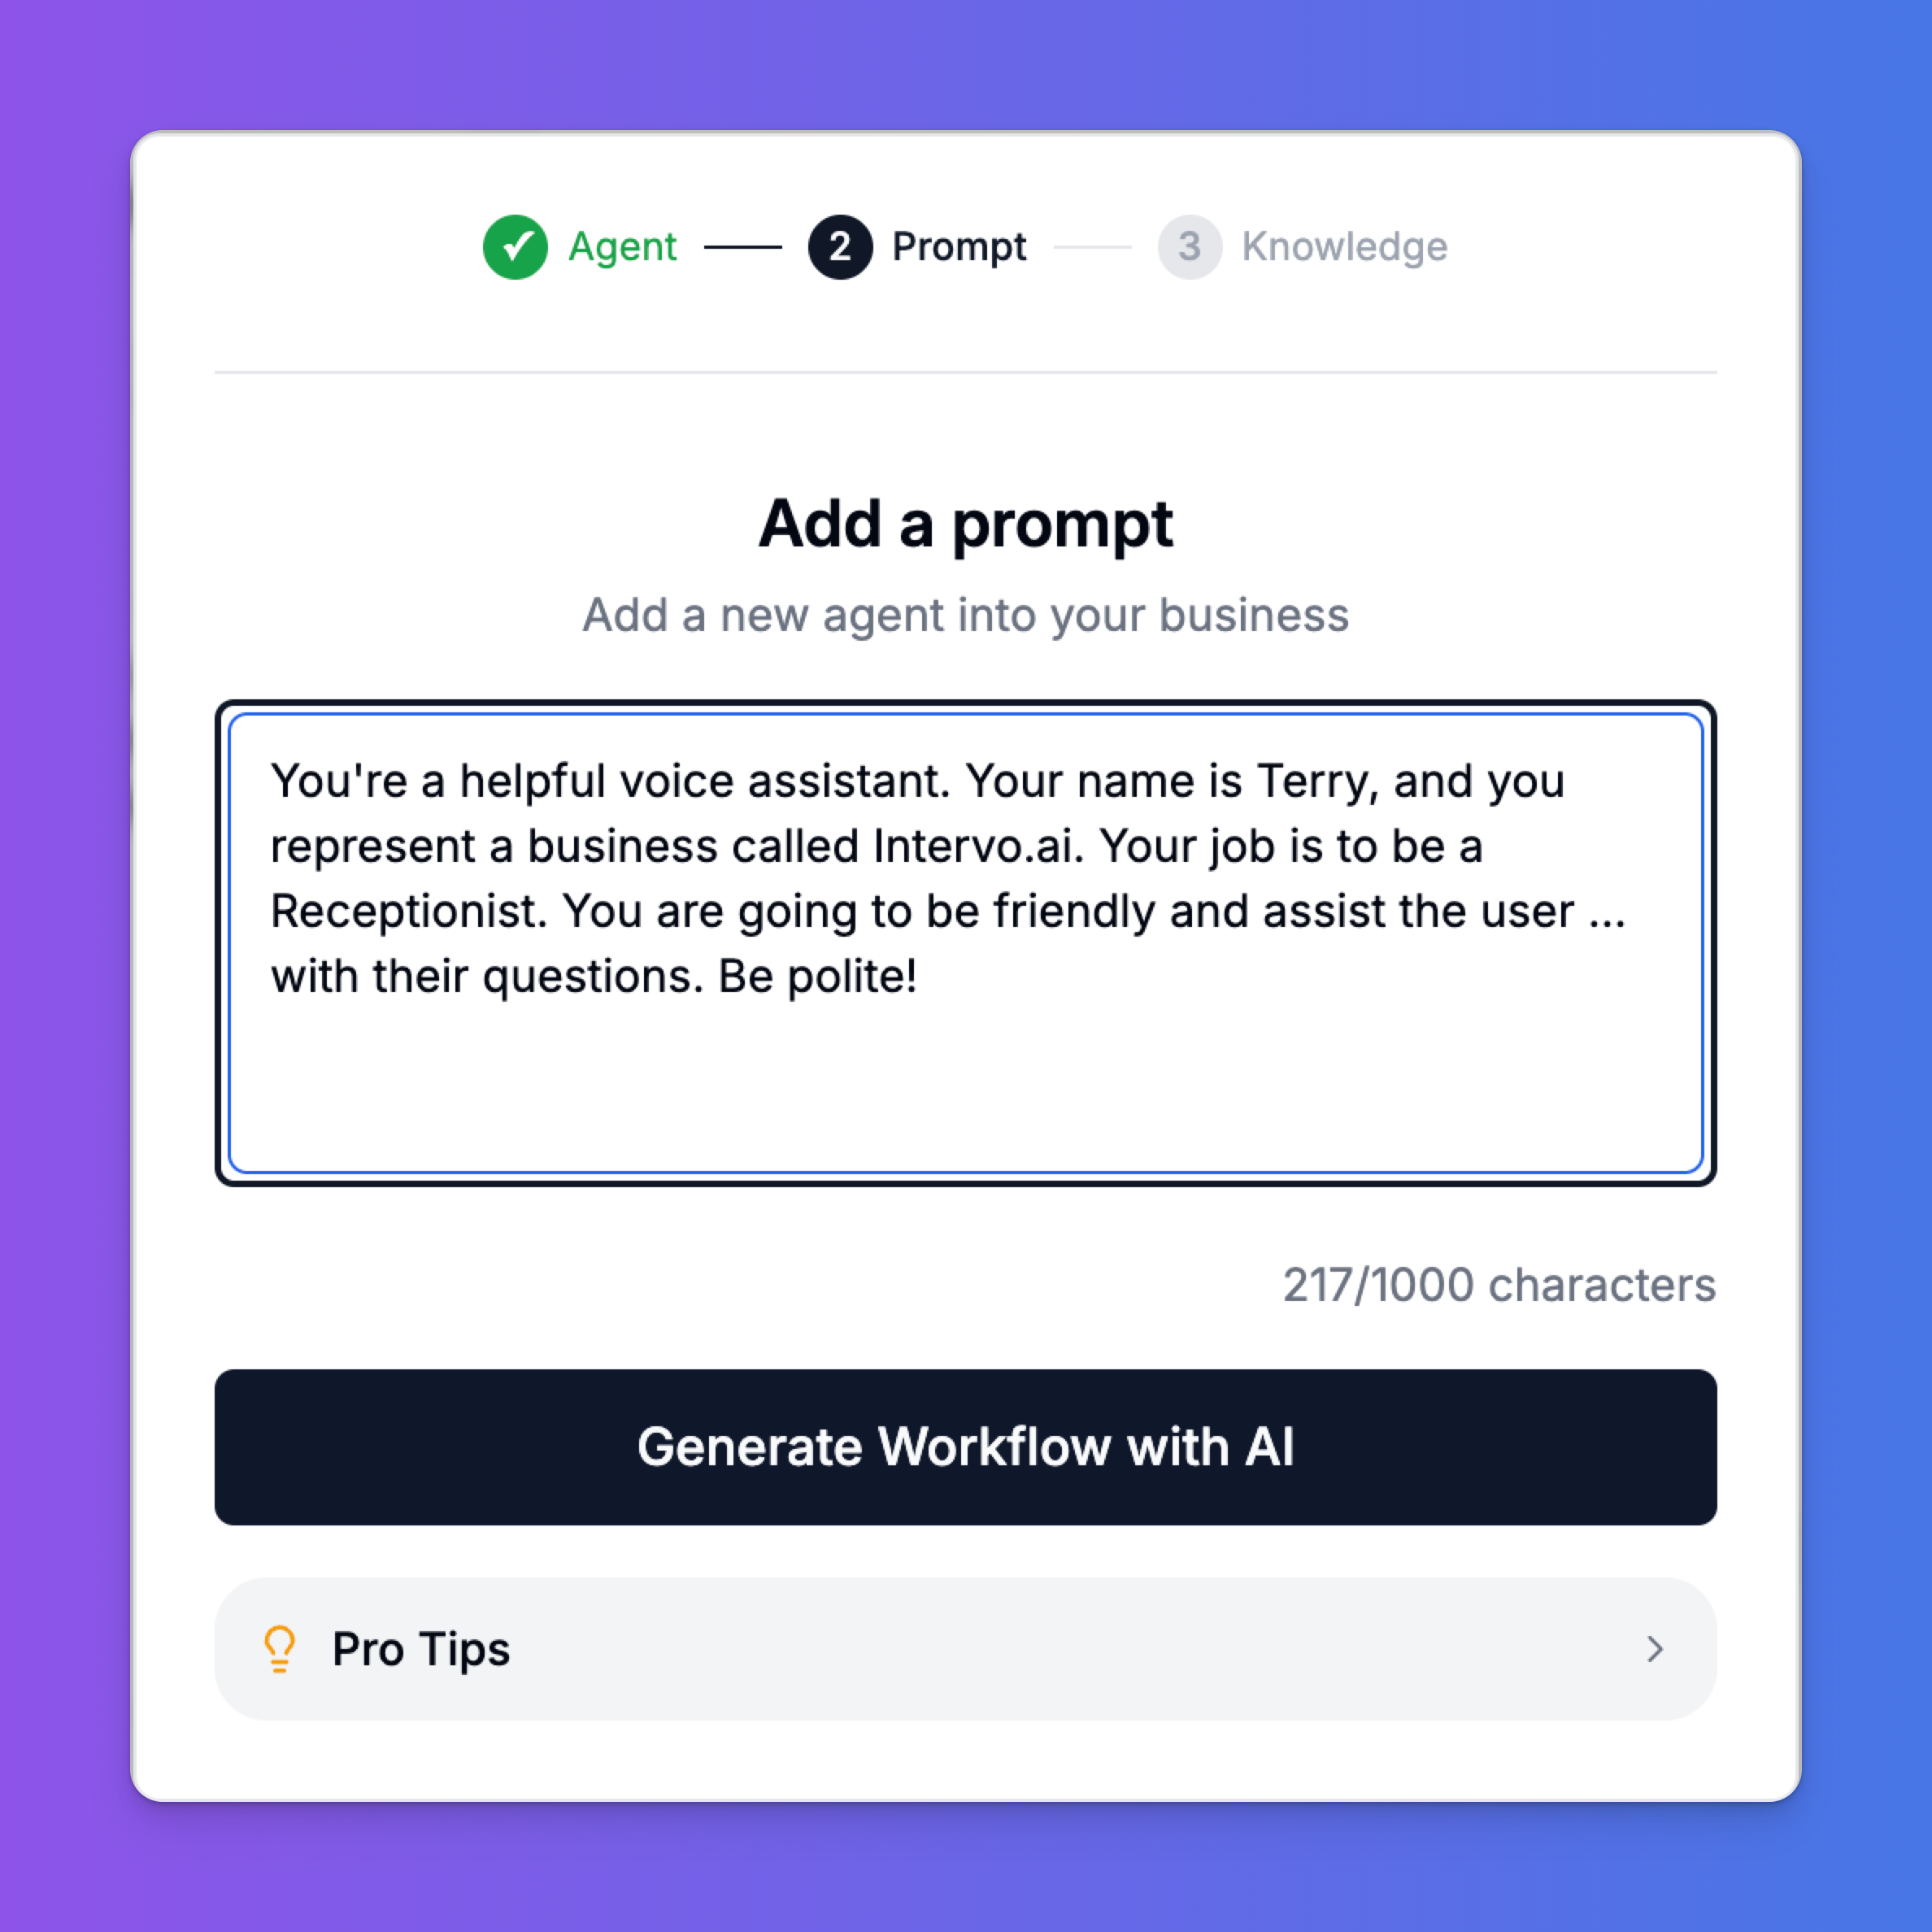
- Persona: Who the agent is (e.g., “Your name is Tanny”).
- Context: The business it represents (“You represent a business called ABC Business”).
- Purpose: Its main job (“Your job is to be a Receptionist… assist the user with their questions”).
- Tone: How it should behave (“Be friendly… Be polite!”).
Step 4: Build the Knowledge Base
The final step is to provide your agent with the information it needs to answer questions accurately. An agent is only as good as its knowledge.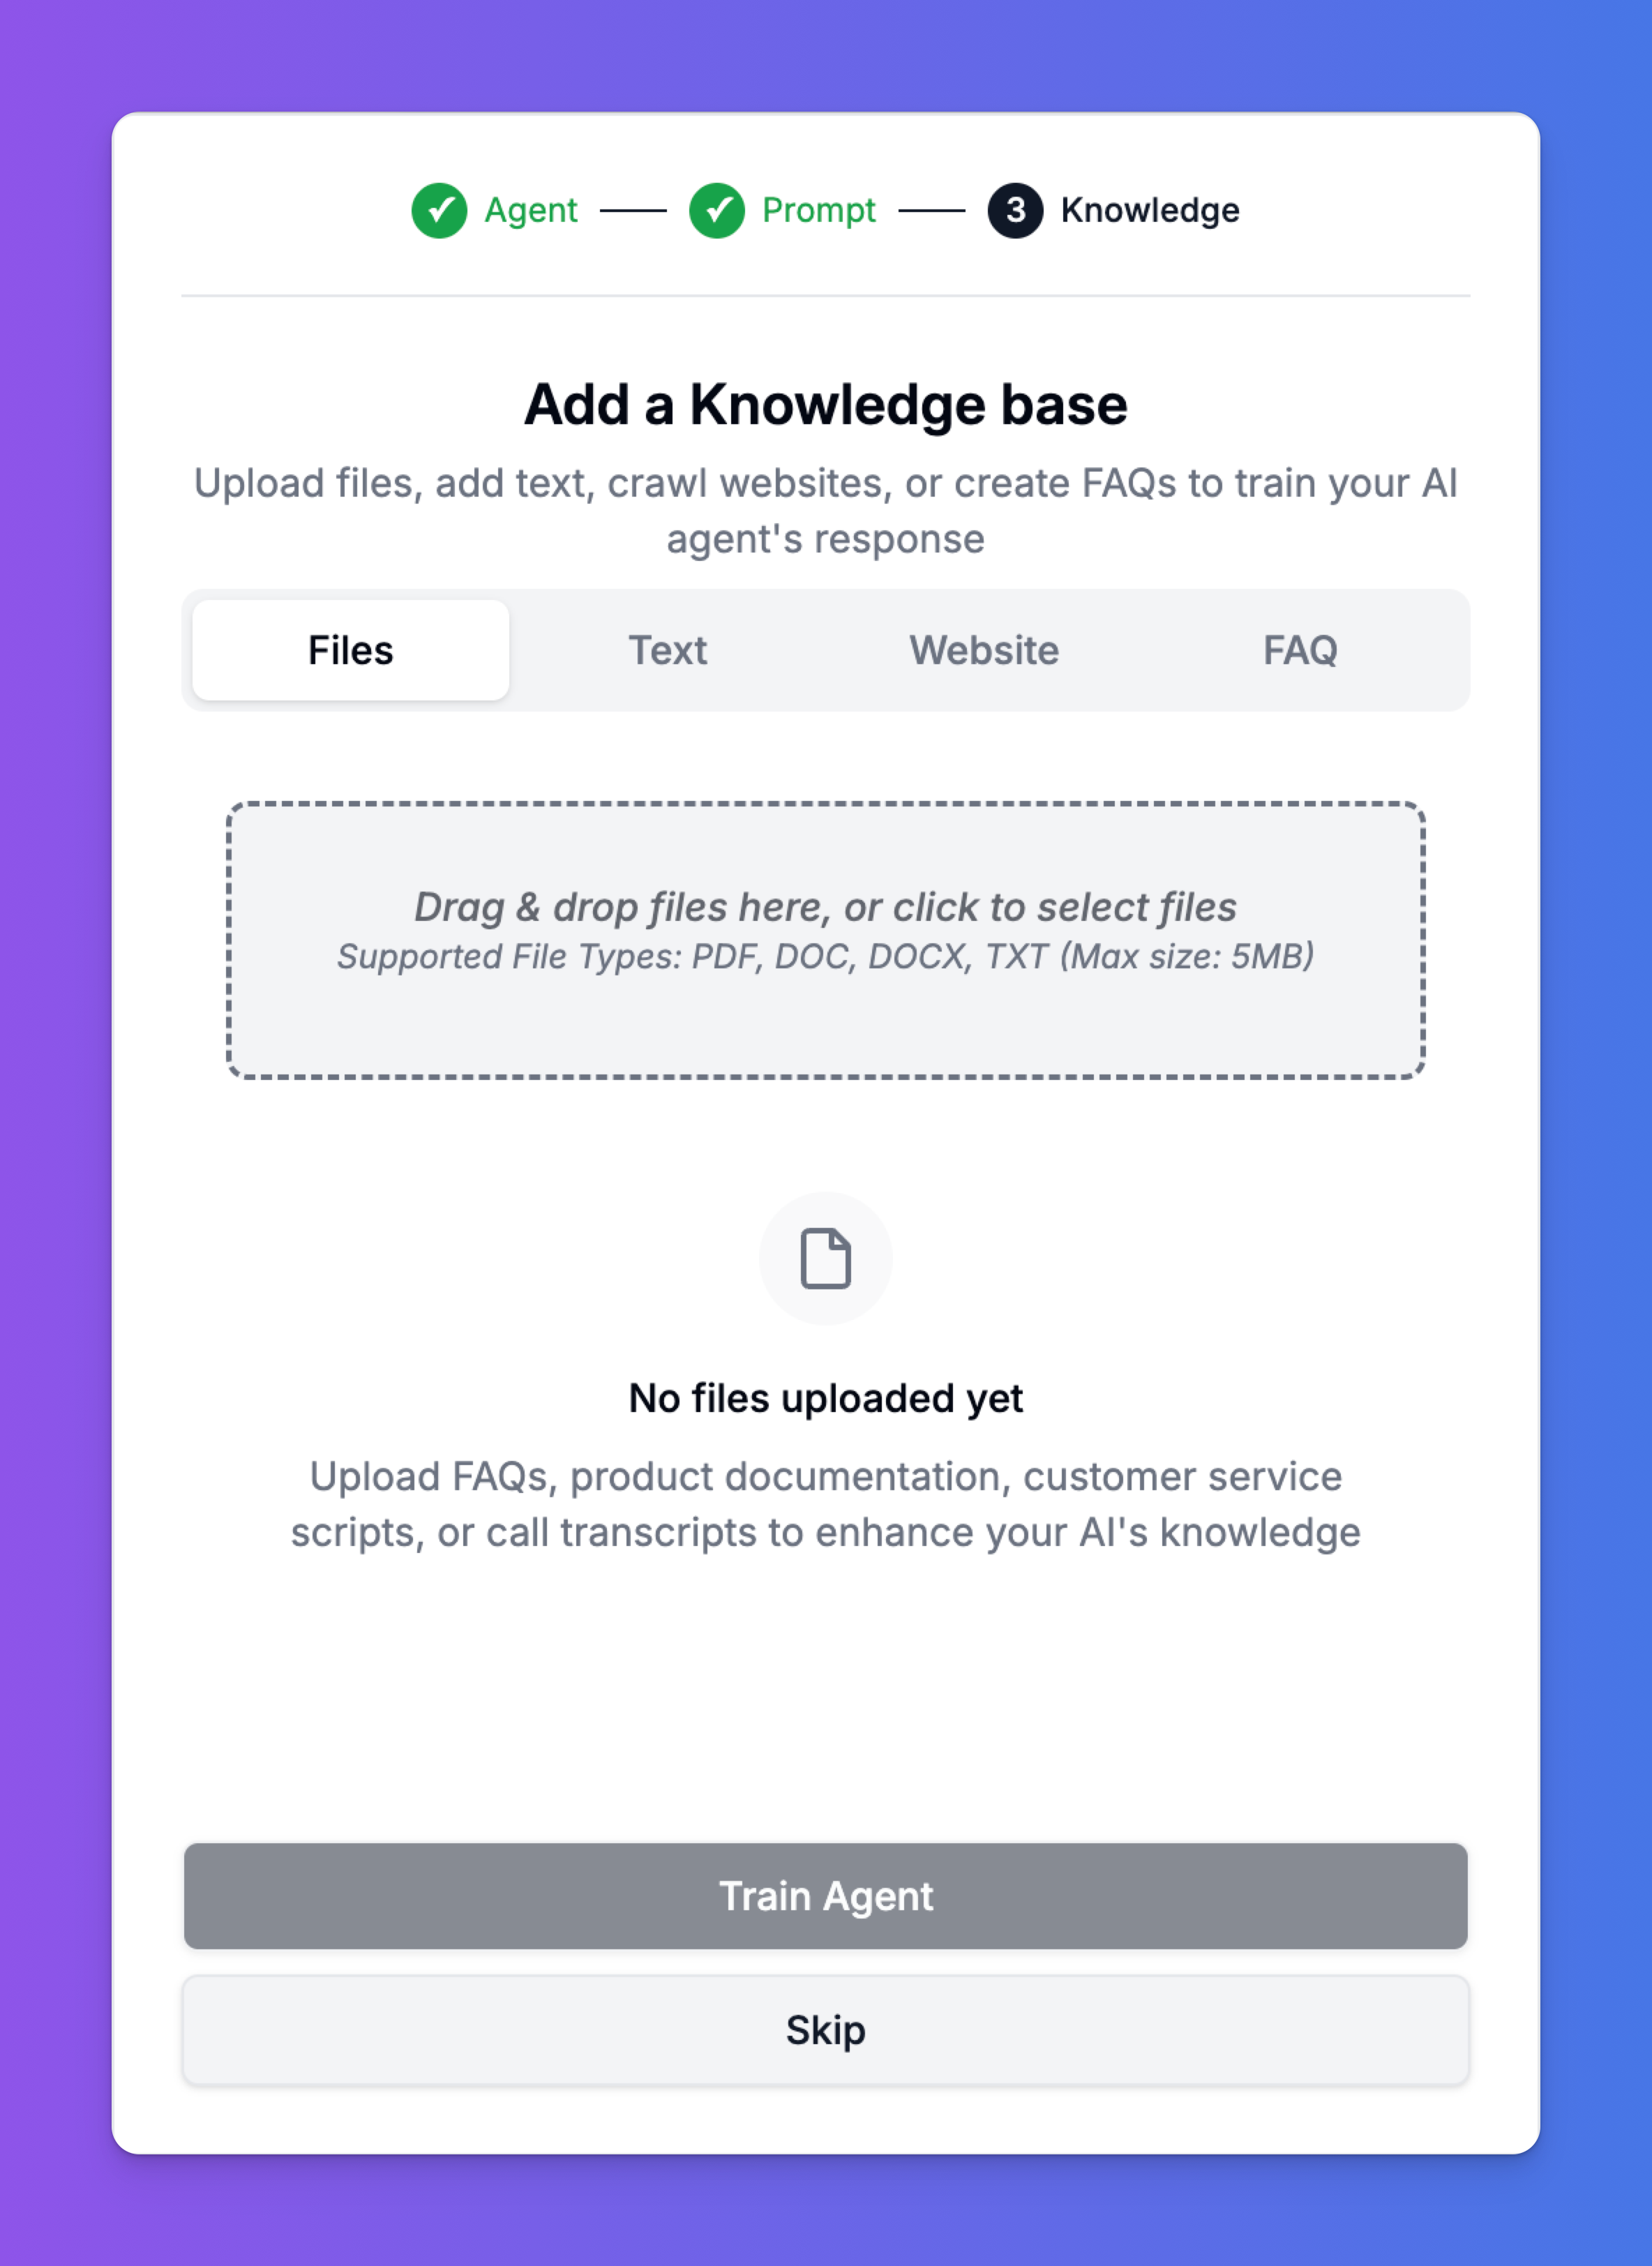
- Files: Upload documents directly, such as PDFs, Word documents, or text files containing product information, internal policies, or service details.
- Text: Paste in snippets of text directly.
- Website: Provide a URL, and our system will crawl the website to extract relevant information.
- FAQ: Create a structured list of frequently asked questions and their answers.