Adding Knowledge to an Agent
An AI agent is only as intelligent as the information it has access to. A well-maintained Knowledge Base is the single most important factor in ensuring your agent provides accurate, helpful, and brand-aligned responses. In Intervo.ai, the Knowledge Base serves as the central brain for your agent. This guide will cover everything you need to know about creating, managing, and optimizing your Knowledge Bases to ensure your agent performs at its best.What is a Knowledge Base?
A Knowledge Base is a collection of content sources that you provide to train your AI agent. By using a technique called Retrieval-Augmented Generation (RAG), the agent searches this specific information in real-time to formulate relevant and context-aware responses. This is far more reliable than relying on generic knowledge from the internet, as it prevents factual errors (hallucinations) and ensures the agent’s answers are always based on your approved data.Note: How the agent strategically uses this knowledge can be further refined using our Workflow feature, which is covered in a separate, more advanced guide.
Accessing Your Knowledge Base
You can create or manage a Knowledge Base in two primary ways, depending on your goal:-
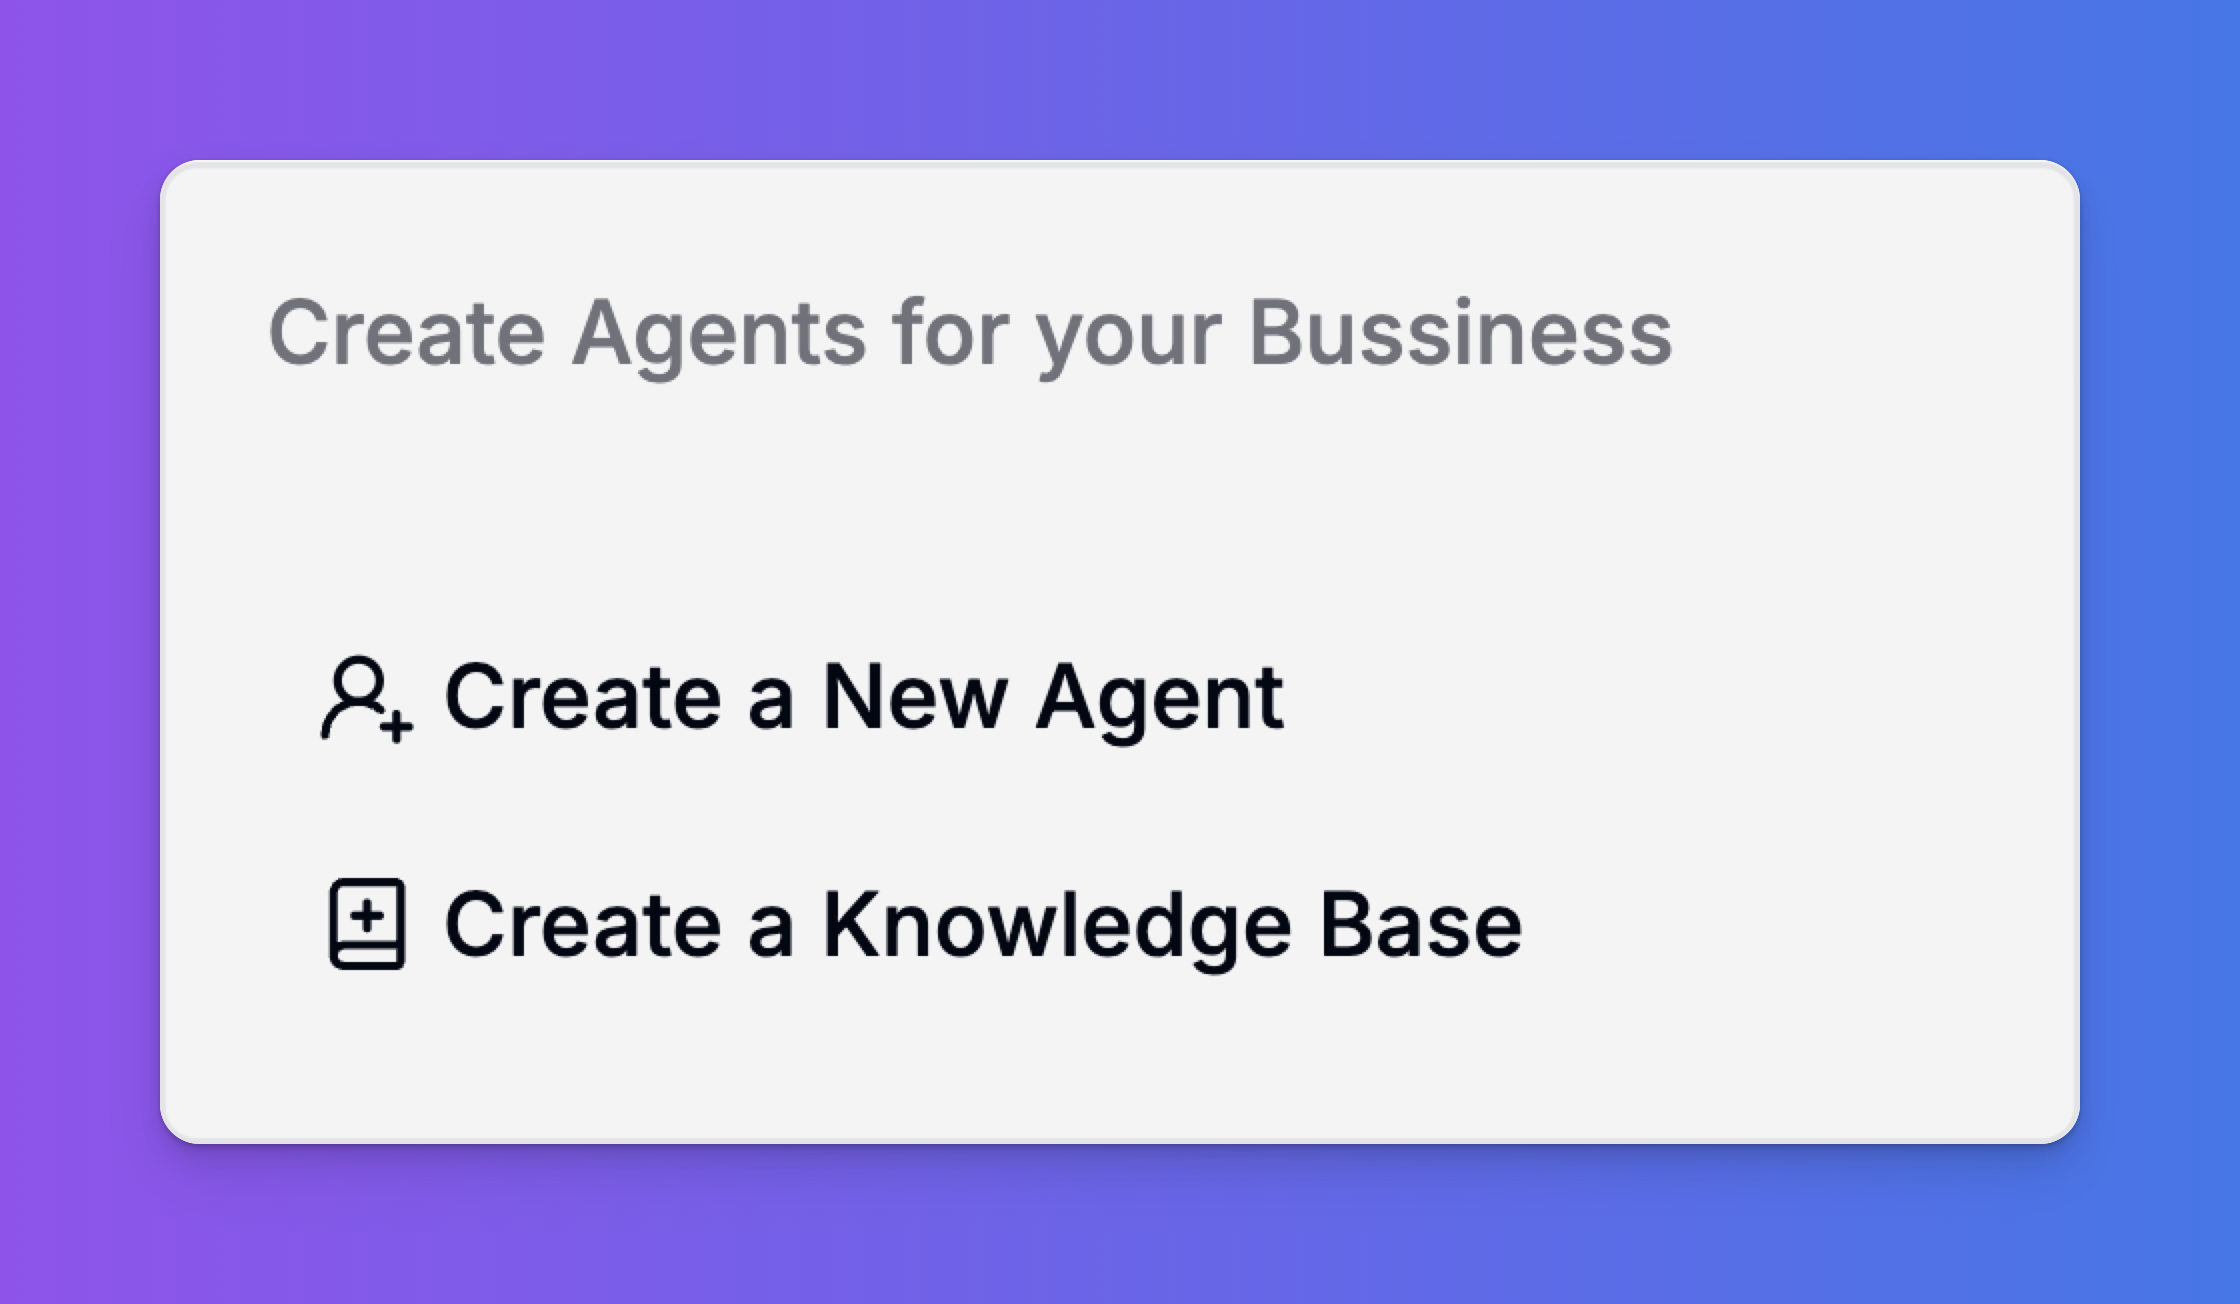
From the Studio: On the main dashboard, you can create a new, reusable Knowledge Base from scratch by clicking “Create a Knowledge Base”. This is perfect for building foundational knowledge sources (e.g., “Company-Wide Policies”) that can be linked to multiple agents.
-
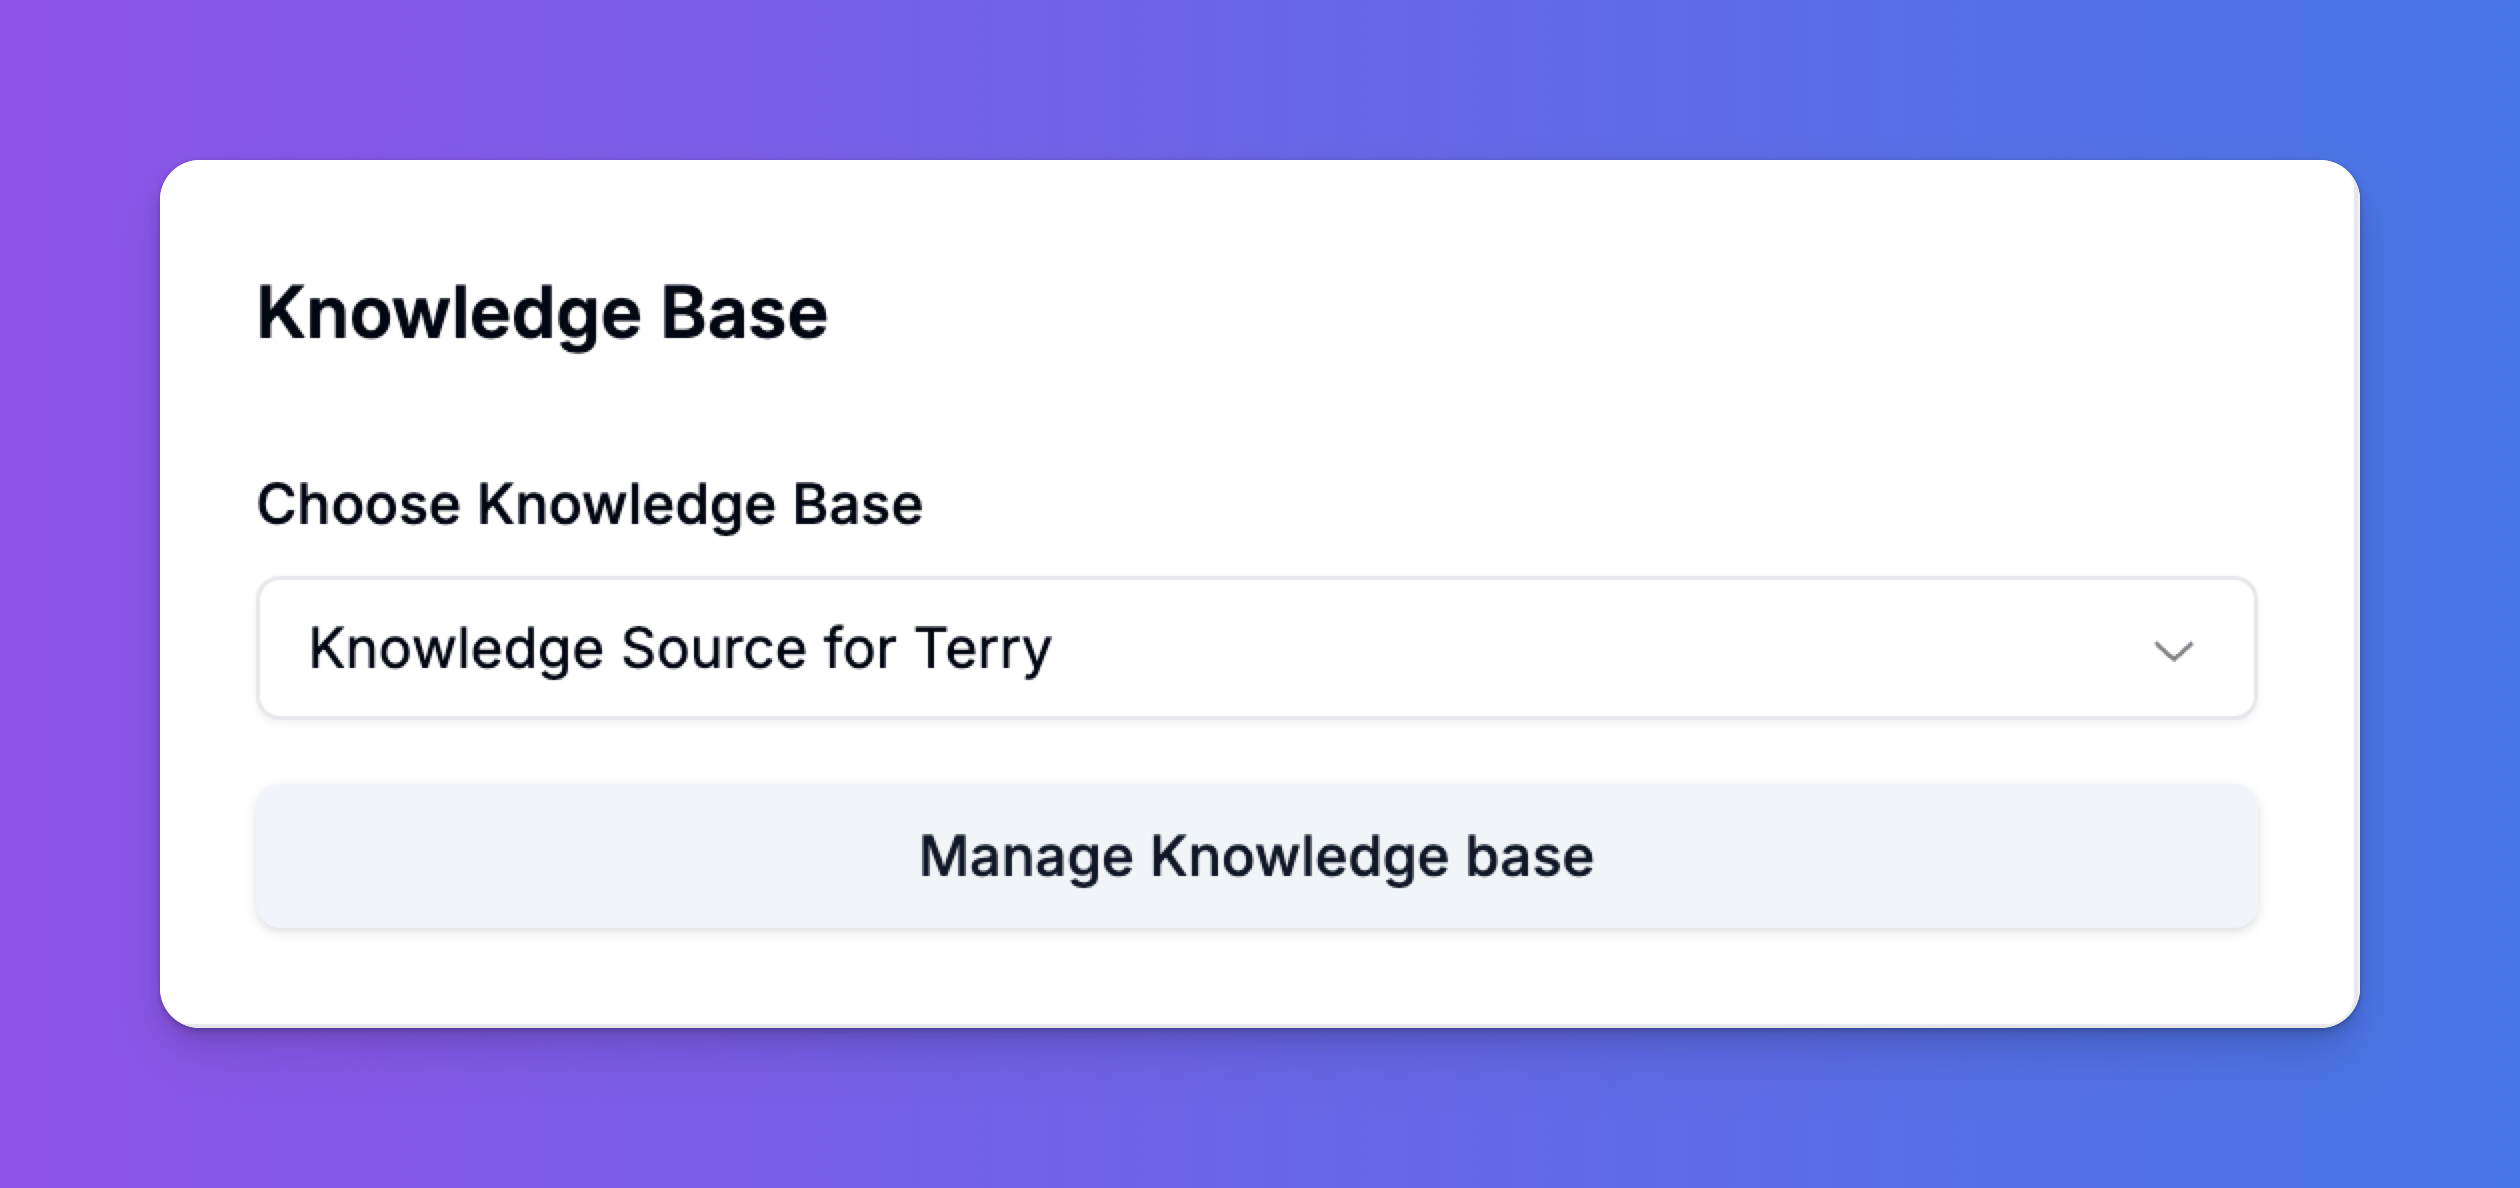
From the Agent Playground: When configuring a specific agent, you can either select an existing Knowledge Base from the dropdown or click “Manage Knowledge base” to directly edit the sources for that agent. This is the most common way to add or update an agent’s information for a specific role.
Adding Knowledge Sources
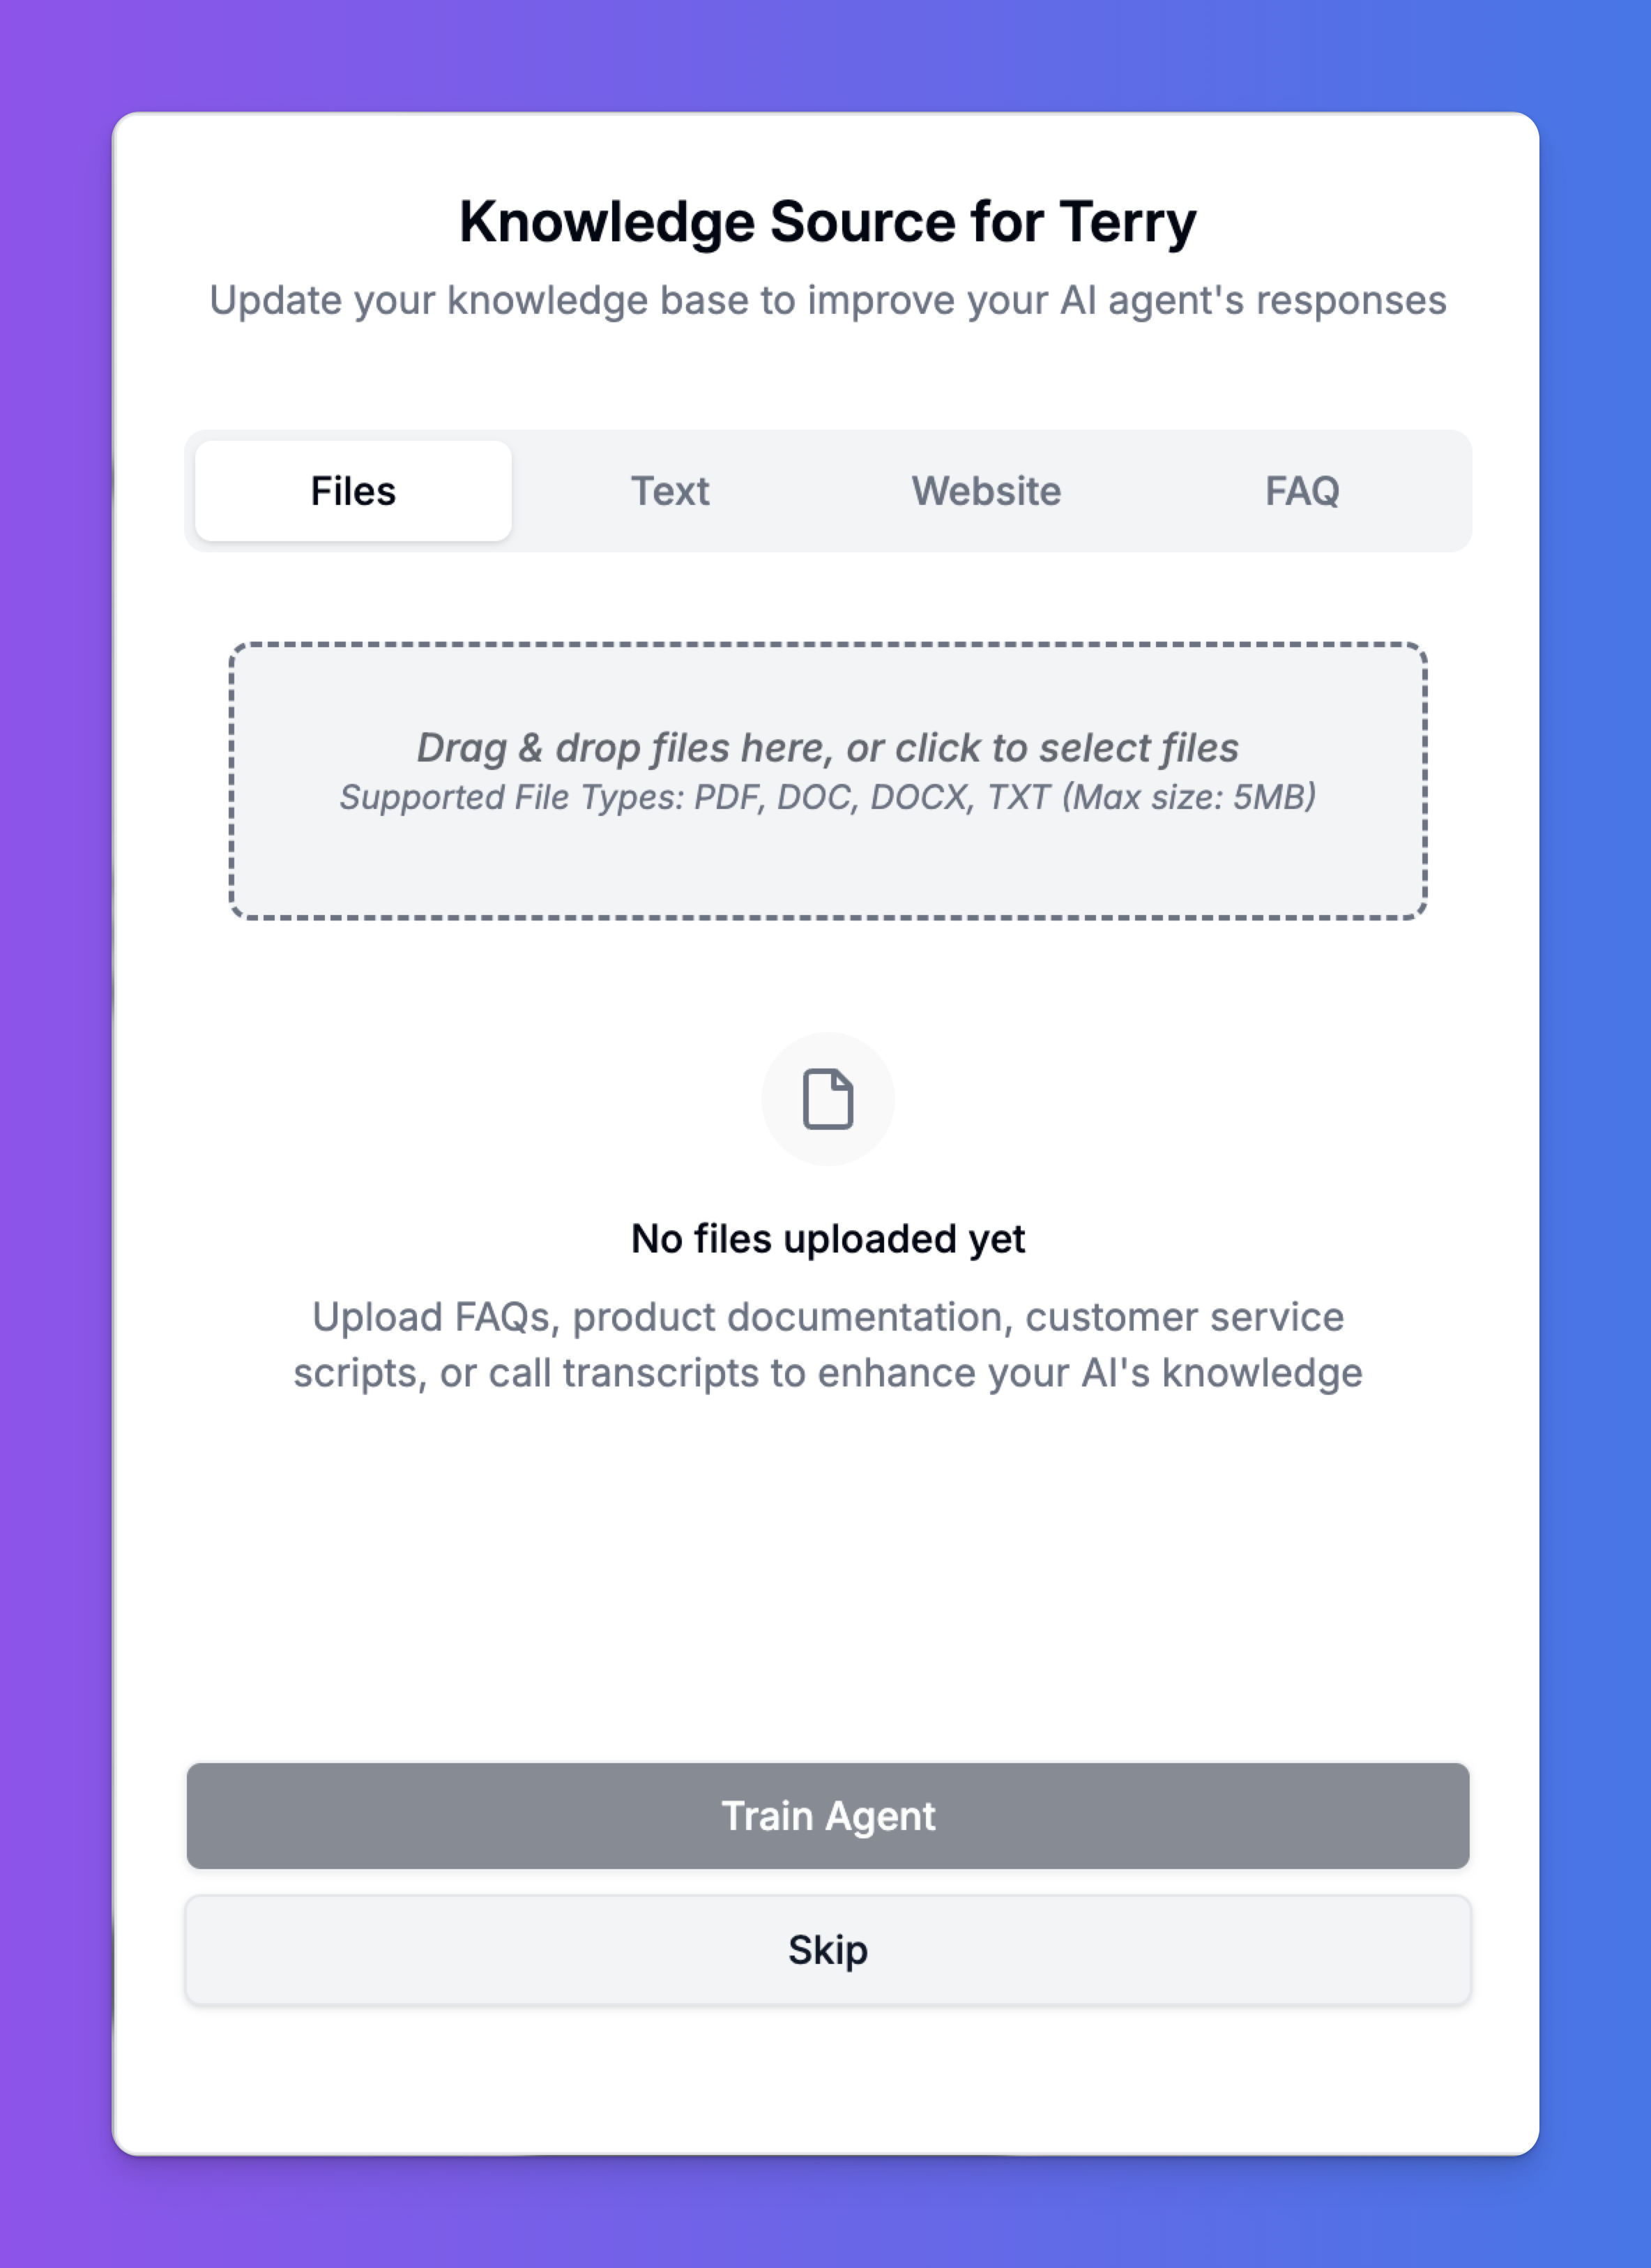
Once you are in the Knowledge Base management screen, you have four powerful ways to add content. Choosing the right source for the right type of information is key to building an effective agent.1. Files
The Files tab is perfect for uploading existing documents. This is the quickest way to transfer large amounts of structured information, such as product manuals, service policies, internal documentation, or call transcripts.- How to Upload: Simply drag and drop your files into the upload area, or click to select them from your computer.
- Supported File Types: We currently support
.pdf,.doc,.docx, and.txt. - File Size: Each file can be up to 5MB.
- Management: After upload, you can see a list of your files and delete them individually as needed.
- Best Practice: For best results, ensure your documents are well-structured with clear headings and paragraphs. Avoid complex layouts with many columns or embedded tables.
2. Text
The Text tab is ideal for adding short, specific pieces of information directly. Use this for content that doesn’t live in a formal document, like your company’s official address, business hours, a brief product description, or temporary announcements (e.g., “We will be closed for the holiday on Monday”).- How to Add: Just type or paste your content directly into the text box and save. It’s instantly added to the agent’s knowledge.
- Best Practice: Keep text snippets focused on a single topic. This makes the information easier for the agent to retrieve accurately.

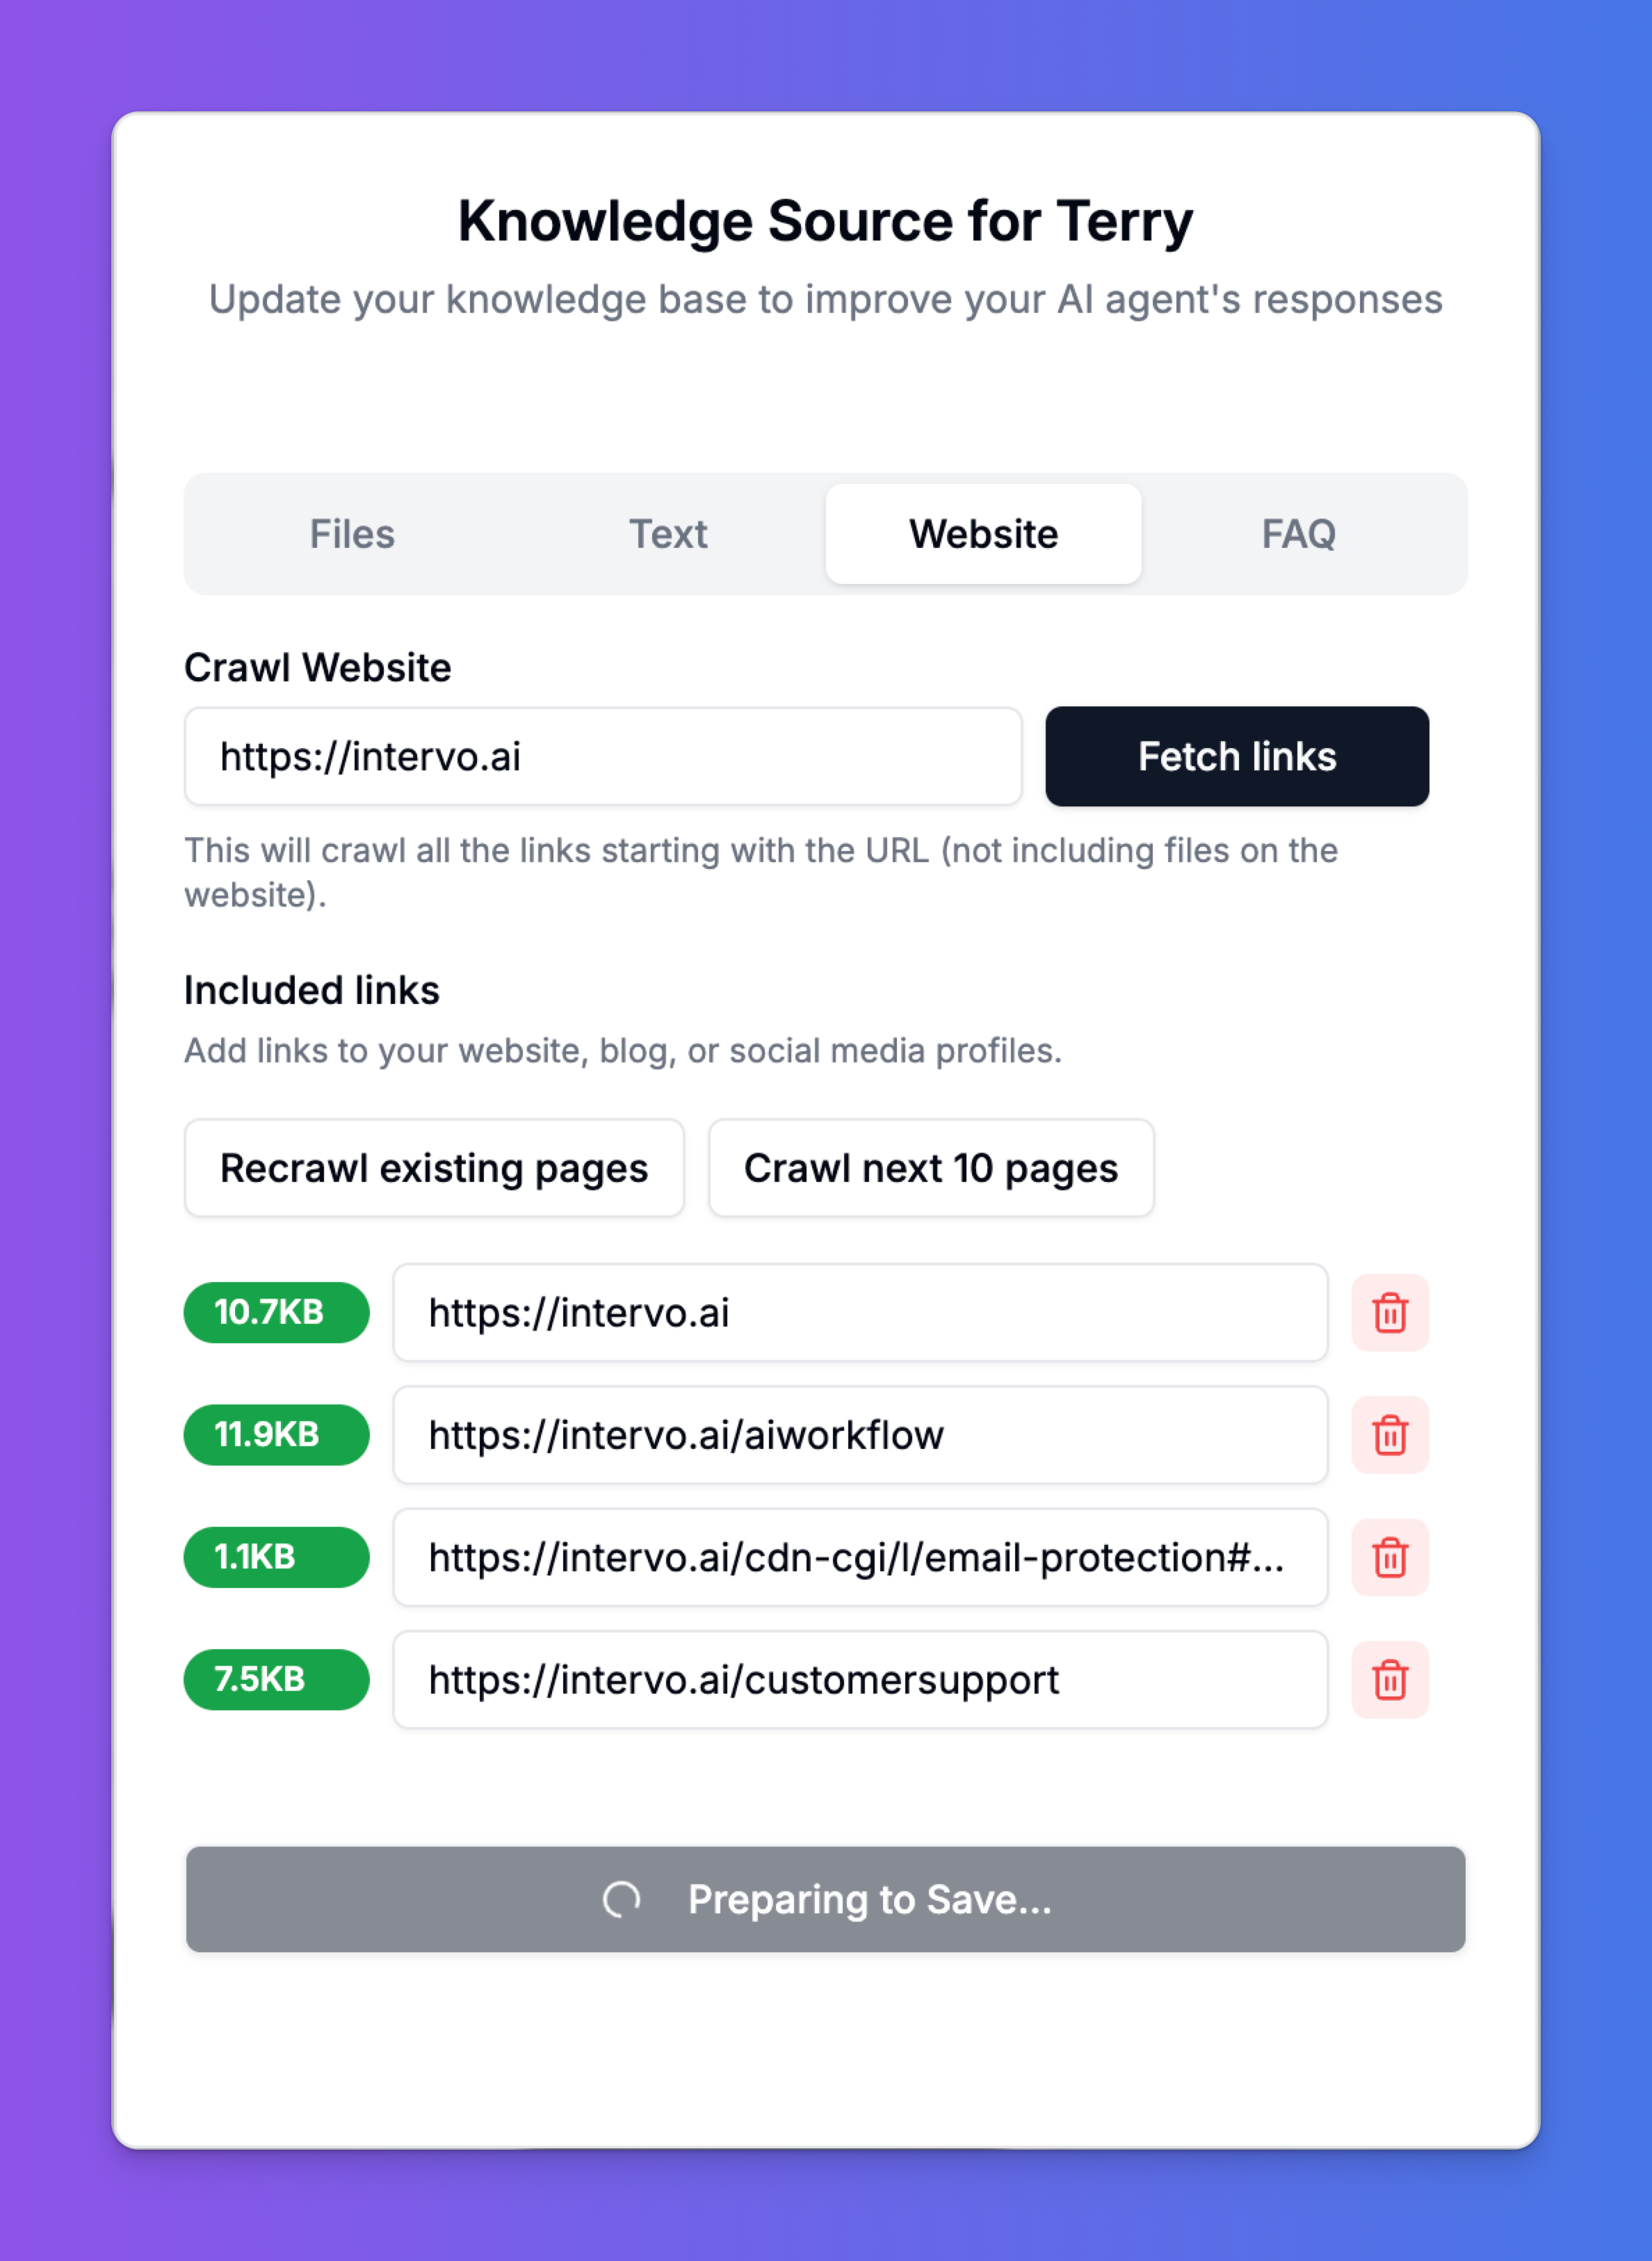
3. Website
Train your agent on content directly from your public-facing website, blog, or help center. Our web crawler will automatically fetch the content from the URLs you provide.- How to Crawl: Enter the starting URL of the website you want to crawl and click “Fetch links”.
- Managing Links: After the crawl is complete, you will see a list of all included links. You can:
- Recrawl existing pages: Update the agent’s knowledge if the content on a page has changed.
- Crawl next 10 pages: Continue the crawl to discover and add more pages from the website.
- Delete: Remove individual links that you don’t want to include in the knowledge base.
- Best Practice: Start with key pages like your “About,” “Contact,” and main product/service pages. If you have a sitemap, crawling it can be a very efficient way to add your entire site.
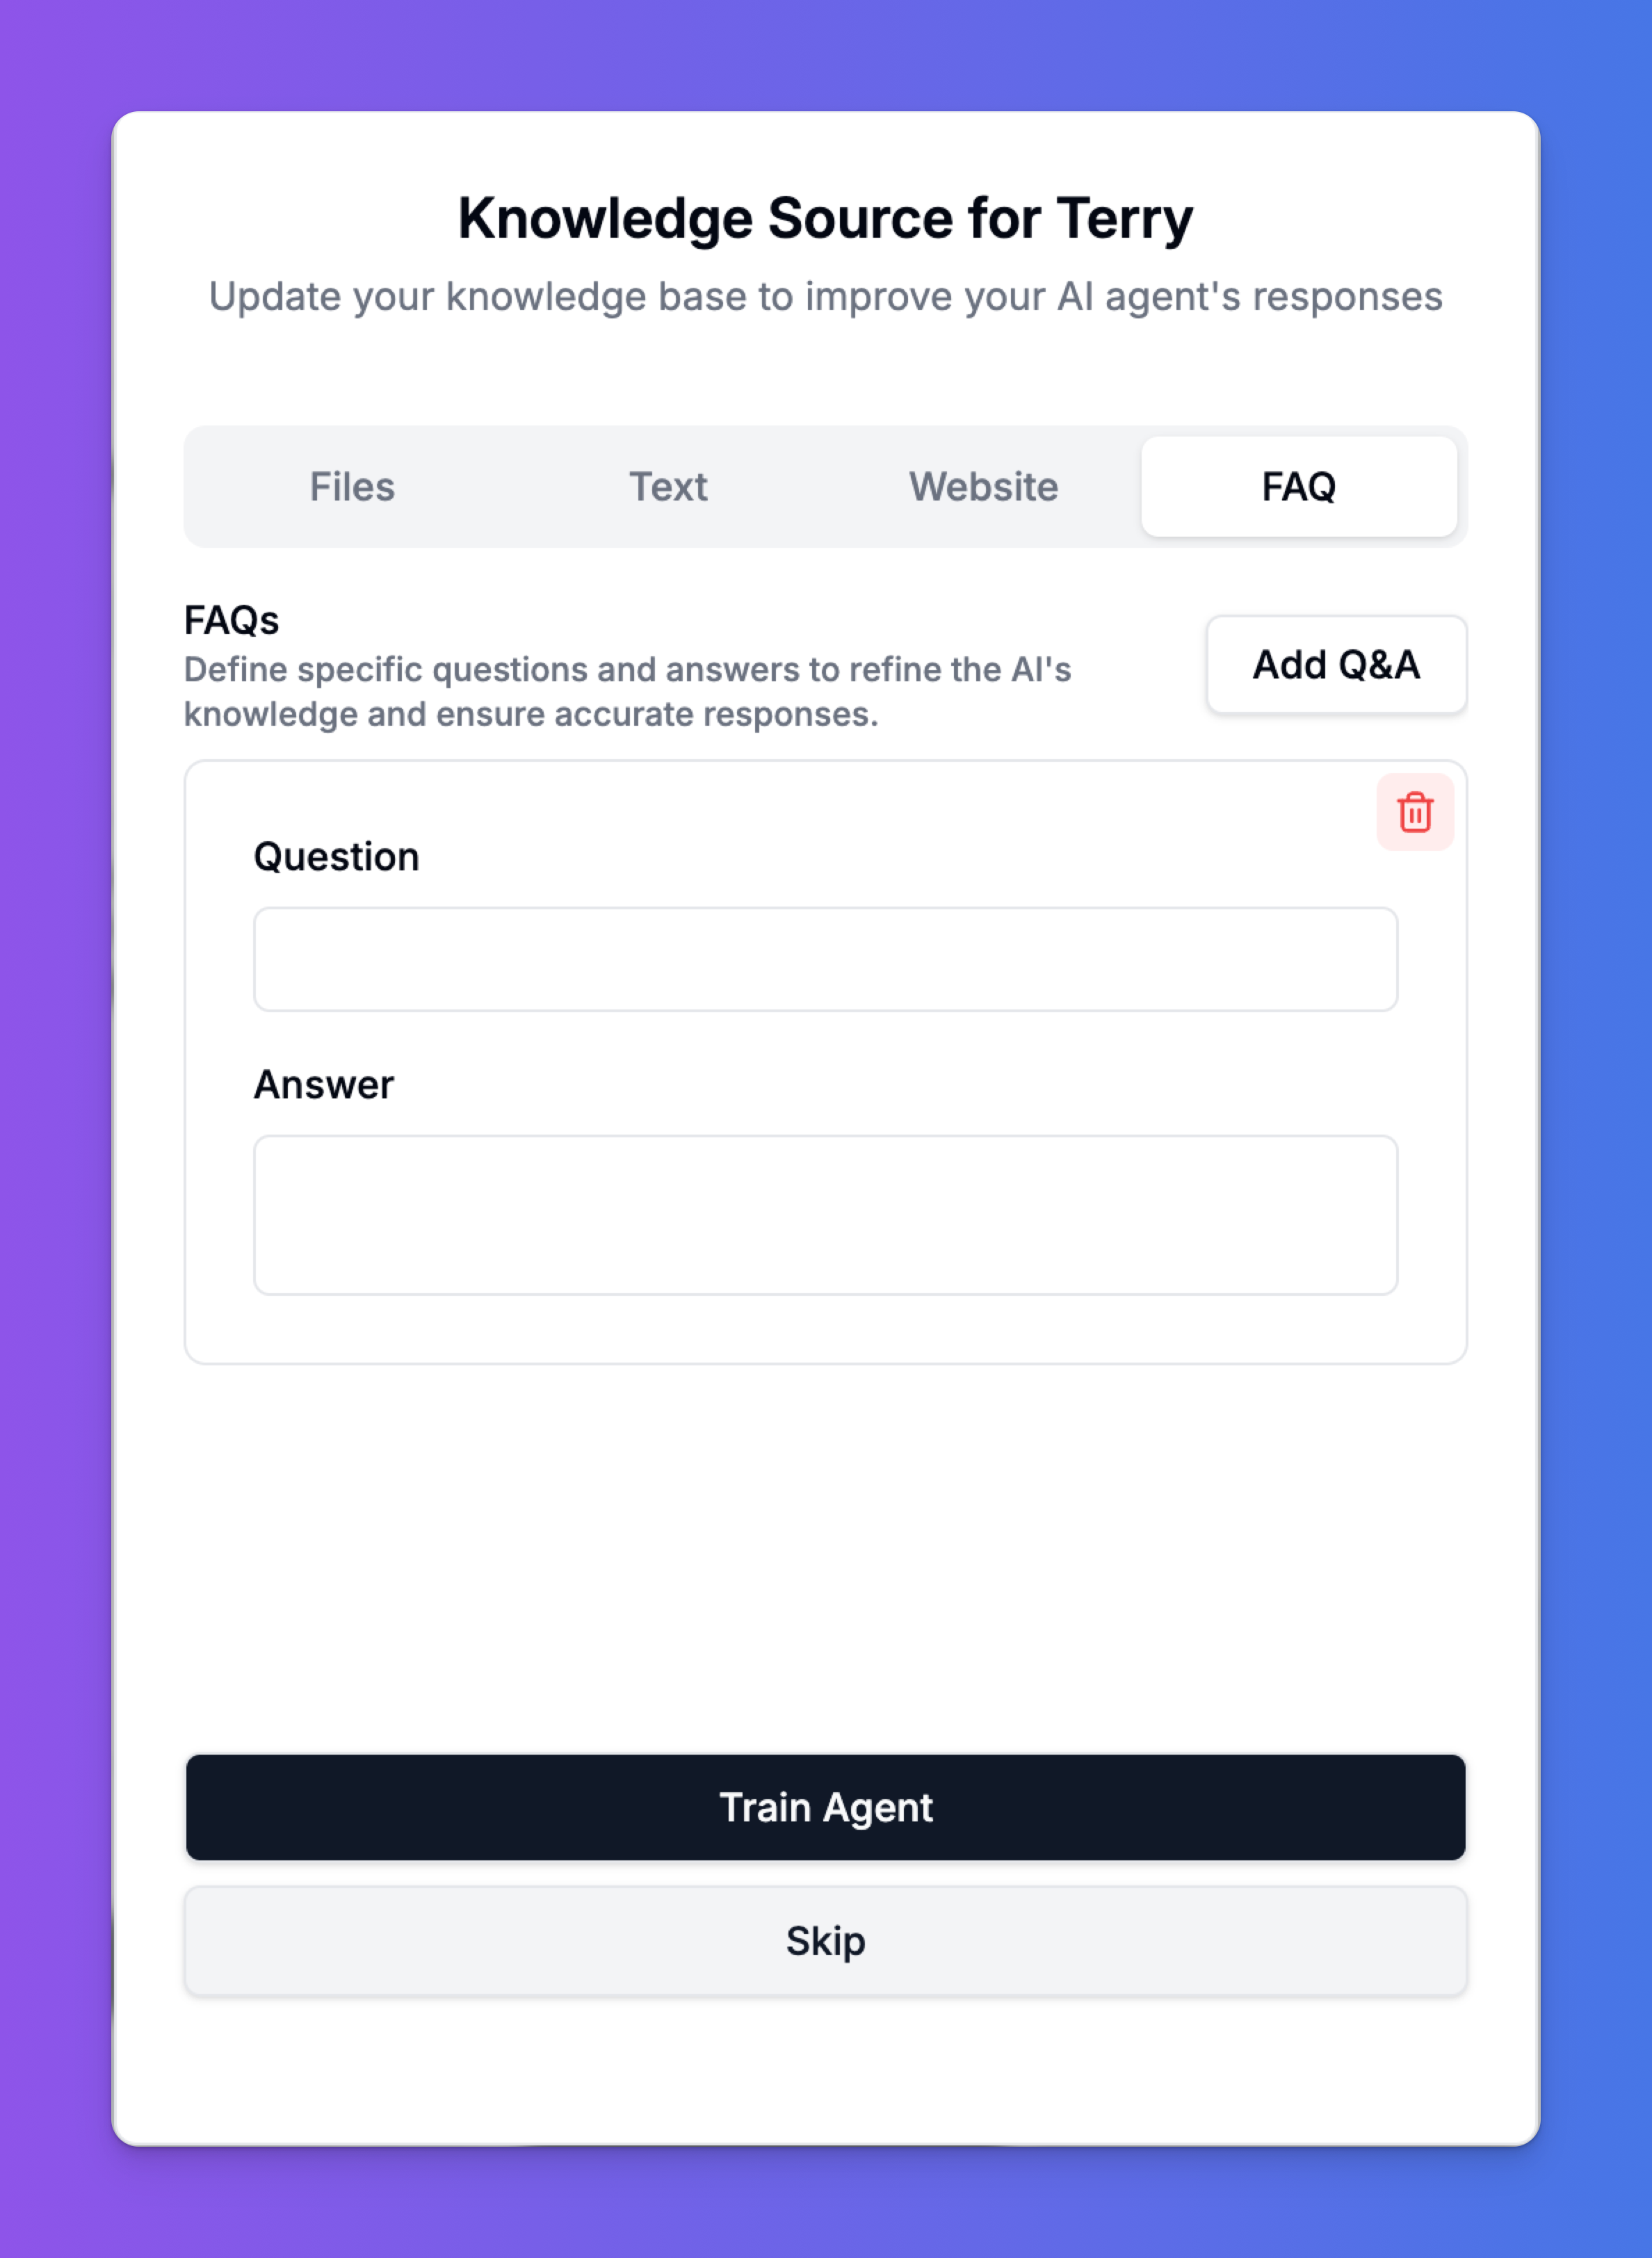
4. FAQ
The FAQ tab allows you to create a structured list of specific questions and their corresponding answers. This is the best way to ensure the agent responds with a precise, pre-defined answer to common queries. This method gives you the most control over the agent’s output for specific questions.- How to Add: Click the “Add Q&A” button. An input area will appear for you to type a Question and its corresponding Answer. You can add as many Q&A pairs as you need.
- Best Practice: Think of the top 10-20 questions your customers ask. Add them here with concise, approved answers. You can also add variations of a question to improve the agent’s recognition.